Roles and Permissions
One of the most important features for any application is the management of roles and permissions, and Easystart has got you covered, as it includes a module to manage roles with their associated permissions, allowing you to limit the functionality of the administrative panel to certain users.
In the Groups and Permissions module, you can create a new role and assign the desired permissions to it. To make things even easier, if you need a role with similar permissions to another one that already exists, you can simply clone it and you’re done - it’s that easy.
How it works (Behind the scenes)
You may be wondering how all of this works. First of all, let us tell you that we haven’t reinvented the wheel, as we take advantage of Django’s Permissions model to set
the battery of permissions that we have defined previously, and the @permission_required decorator to validate if a user has permissions to access a certain view.
The list of permissions can be found in the permissions.yml file in the root directory, and has the following structure:
permissions:
- codename: can_view_users
  name: User - Can view users
- codename: can_view_user_detail
  name: User - Can view user detail
Where the codename is the slug of the permission and name is its description. The latter uses the following structure:
<Module> - <Permission description>
Easystart defines two initial groups (roles): management and customer (see the fixtures section). The customer role is assigned to the end user, while the management role is the administrator user; We assign all the permissions of the administrative dashboard. In other words, any user with the management role will have access to all the functionalities of the admin panel.
Adding new permissions
With the methodology used for groups and permissions, it’s easy to add new permissions to the system as our project scales. You can follow this recipe, and it won’t fail.
Add the new permission to the system
First, you must include the new permission in the permissions.yml file:
permissions:
- codename: can_view_users
  name: User - Can view users
- codename: can_view_user_detail
  name: User - Can view user detail
- codename: new_permission_test
  name: Module - A new permission for test
Register the new permission in the GlobalSettings model and assign it to the management role.
docker compose exec applocal python manage.py runscript sync_permissions
Permission Validation in the Backend
To validate that a user has permission to access a specific view, we use the @permission_required decorator in the view. For example:
@permission_required("core.can_view_users", raise_exception=True)
def users_list(request):
    paginate_by = 10
    user_schema = serializers.UserSchema(many=True)
    users_obj = (
        CustomUser.objects.all()
        .exclude(is_superuser=True, is_staff=True)
        .order_by("id")
    )
    # ...
In this function, we validate that the user has the can_view_users permission. With the core prefix, we indicate in which model (GlobalSettings)
the permission is registered, and the following string is the permission’s codename. If a user without permission tries to access that view,
the system will return a 403 error.
Permission validation on the frontend
Thanks to the AuthPropsMiddleware middleware of the “accounts” app, the backend provides the user authentication information, including an array
with all the permissions assigned to him.
Knowing this, in the frontend we validate whether certain sections can be shown to the user or not. An example in Vue.js is:
<div
    v-if="$page.props.auth.user.permissions.includes('core.can_create_user')"
>
    <inertia-link
        :href="route('management:user_create')"
        class="group flex items-center justify-center text-sm font-medium py-2 text-white rounded-md bg-app-700 hover:bg-app-800 focus:ring-app-500'"
    >
        {{ $_('Create') }}
    </inertia-link>
</div>
Assigning Permissions to the Management Role
We have mentioned that the management role is the administrative level role that will have access to all functionalities of the administrative panel.
By default, this role doesn’t have this attribute. To achieve this, you must assign the initial permission list of the system from the permissions.yml
file. You can do this by running the sync_permissions.py script as follows:
docker compose exec applocal python manage.py runscript sync_permissions
This script registers the permissions in the GlobalSettings model of the “core” app and assigns them to the management group (role).
Assigning a role to a user
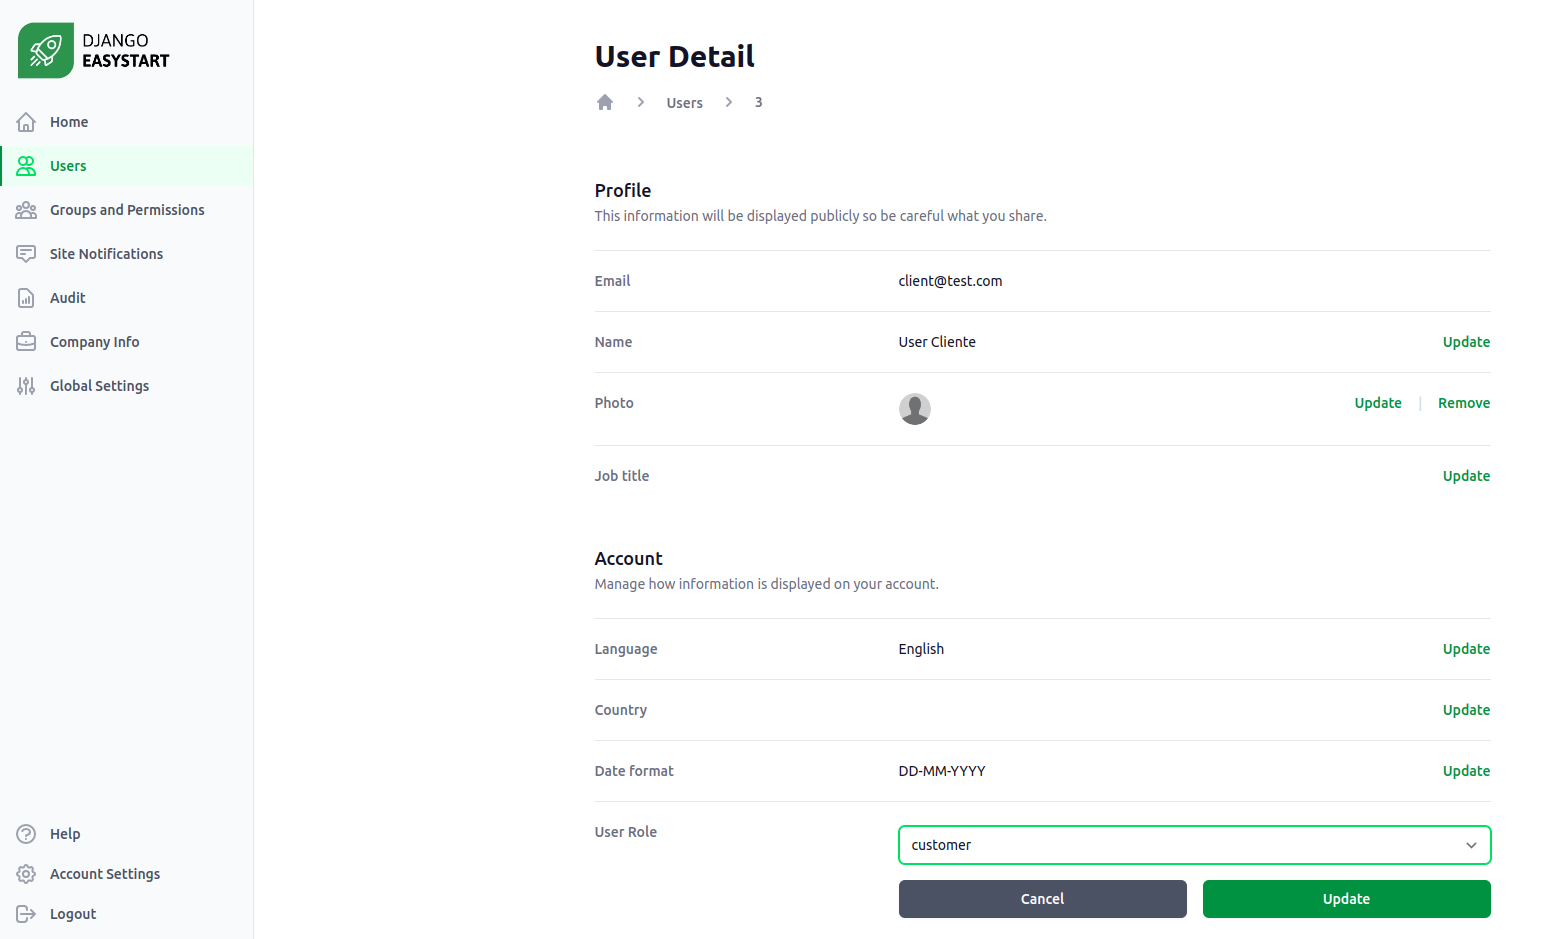
Initially, every user is assigned the customer role upon registration. To change their role, an admin user with the permission to edit users must go to the Users section, search and select the user, and in the User Role field, they can change the role to any already registered in the system.
